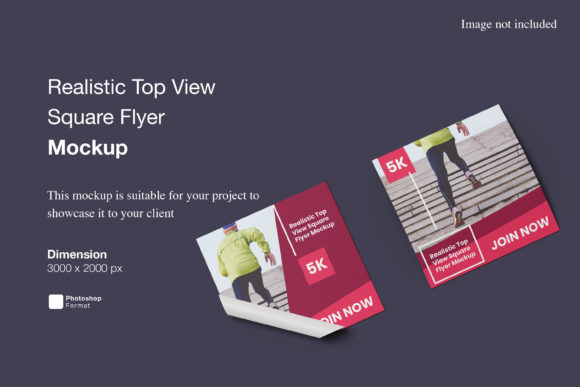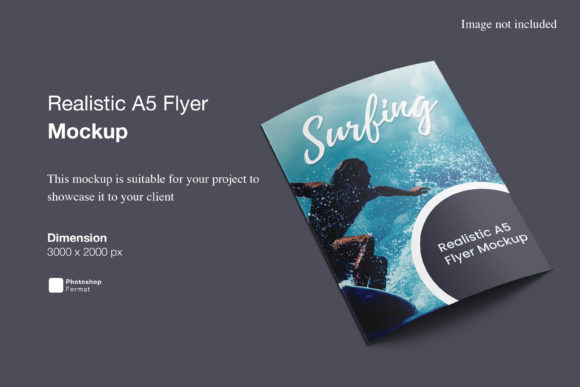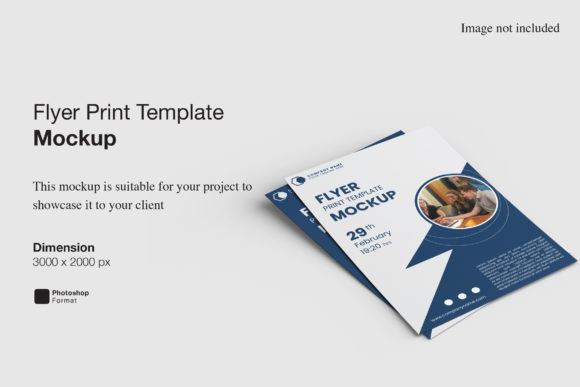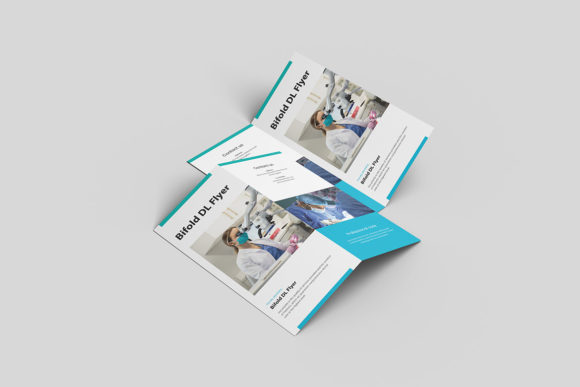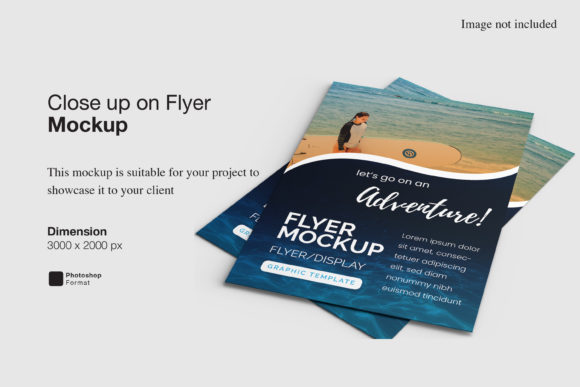
Close Up on Flyer Mockup
A Close Up on Flyer Mockup isn’t just a zoomed-in image—it’s a high-fidelity, realistic preview of how your flyer design will look in the real world. Think of it as a bridge between your digital layout and its physical (or screen-based) presence: folded, held in hand, pinned to a bulletin board, or placed beside a coffee cup at a local café. Designers, marketers, small business owners, and educators use these mockups to present ideas confidently—whether pitching to clients, prepping for print, or sharing visuals on social media.
Why It’s Easy to Misjudge What “Close Up” Really Means
Many assume “close up” means simply cropping a larger mockup. That’s not quite right. A true Close Up on Flyer Mockup captures subtle textures—the slight sheen of glossy paper, the soft grain of recycled stock, the gentle curl of a corner resting on a surface. Without those details, your presentation can feel flat or generic. Worse, some free downloads advertise “close up” but deliver low-resolution JPEGs with fixed shadows or uneditable layers—making it impossible to swap in your own design cleanly.
One common misstep? Using a mockup built for A4 flyers on a 5×7 inch promotional handout. The proportions don’t match. Your logo ends up awkwardly cropped, text bleeds into the fold line, or margins vanish entirely. That mismatch doesn’t just look unprofessional—it risks miscommunicating your message before anyone reads a word.
Three Overlooked Checks Before You Download or Buy
Before adding any Close Up on Flyer Mockup to your project, pause and verify these three things:
- Layer structure: Open the PSD or Figma file first. Are your design layers clearly labeled and grouped? Can you double-click the smart object (or equivalent) to drop in your artwork without distorting perspective or lighting?
- Realistic lighting and shadow direction: Does the light source stay consistent across the scene? If your flyer appears lit from the left in one angle but from above in another, it breaks visual trust—even if viewers can’t name why.
- Usage rights clarity: Some mockups are free for personal use only. If you’re designing for a client—or selling flyers as part of your product—you need commercial licensing. Always read the license summary, not just the headline.
When “Free” Costs More Than You Think
A free Close Up on Flyer Mockup might save $12 today—but cost hours later when you realize the file lacks editable background elements, uses outdated color profiles, or forces you to manually mask highlights instead of toggling layer visibility. One freelance designer spent nearly half a day adjusting a “free” mockup that used a non-standard DPI setting—causing her final client presentation to render blurry on a large monitor. She switched to a paid option with native Retina support and got back two hours of billable time.
Better approach: Start with reputable sources that offer previews showing actual layer breakdowns—not just hero images. Look for creators who include brief video walkthroughs or annotated screenshots. Those signals often reflect care in both craft and communication.
How Placement Changes Perception (and Why It Matters)
A flyer shown flat on a white background feels transactional. A Close Up on Flyer Mockup placed on a weathered wooden table, with natural light catching the paper’s edge, subtly tells a story: this is made for people, not printers. But placement isn’t just aesthetic—it’s strategic.
For example, an educator promoting a community workshop might choose a mockup where the flyer rests beside a notebook and pen—hinting at learning and participation. A boutique coffee roaster might prefer one where the flyer leans against a ceramic mug, reinforcing warmth and authenticity. These cues guide how viewers emotionally connect with your message before they process a single headline.
Smart Substitutions When You Can’t Find the Perfect Mockup
Don’t wait for the “ideal” Close Up on Flyer Mockup. Instead, adapt thoughtfully:
- Start with a neutral, well-lit photo of a real surface—like a linen tablecloth or concrete countertop—and overlay your flyer using blending modes like Multiply or Overlay to integrate lighting naturally.
- Add subtle texture via a low-opacity paper grain overlay (available free from sites like Textures.com). Keep opacity under 8% so it enhances realism without competing visually.
- Use real-world reference photos—snap your own flyer under consistent lighting, then match brightness, contrast, and white balance in your editing software. Even basic tools like Canva or Photopea let you align tone across layers.
What to Watch For in Video or Animated Mockups
Some newer Close Up on Flyer Mockup options include short MP4s or Lottie animations—showing a hand placing the flyer or a gentle turn revealing both sides. These are powerful for social posts or email headers. But check frame rate and resolution: a 30fps animation exported at 720p may pixelate when embedded in a full-width newsletter. Also confirm whether the animation includes editable placeholders. If your logo appears baked into every frame, you’ll need motion design skills—or extra time—to rework it.
A Final Note on Consistency Across Your Toolkit
If you regularly use Close Up on Flyer Mockup assets alongside business card or brochure mockups, aim for visual harmony. That means matching lighting angles, paper finishes, and environmental context. A flyer with matte texture next to a glossy business card in the same presentation creates unintentional dissonance. Choose a creator or bundle known for cohesive style—many offer “studio packs” designed to work together seamlessly.
Ultimately, a strong Close Up on Flyer Mockup does more than display your design—it extends your credibility. It says you’ve considered how people will encounter your message: not as pixels on a screen, but as something tangible, intentional, and worth holding onto.